
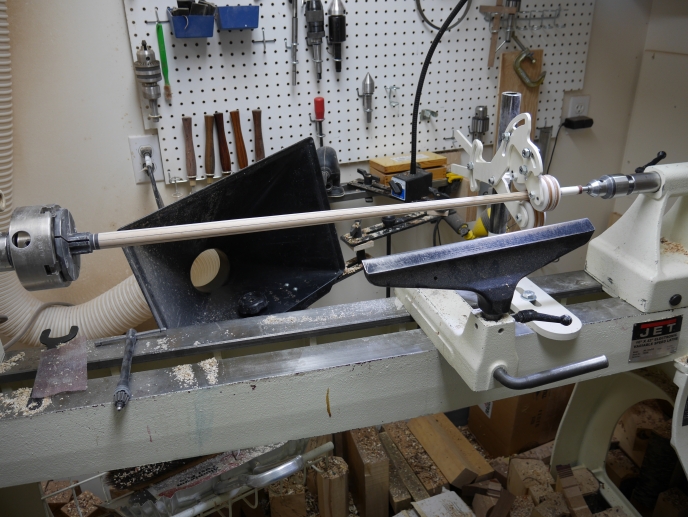
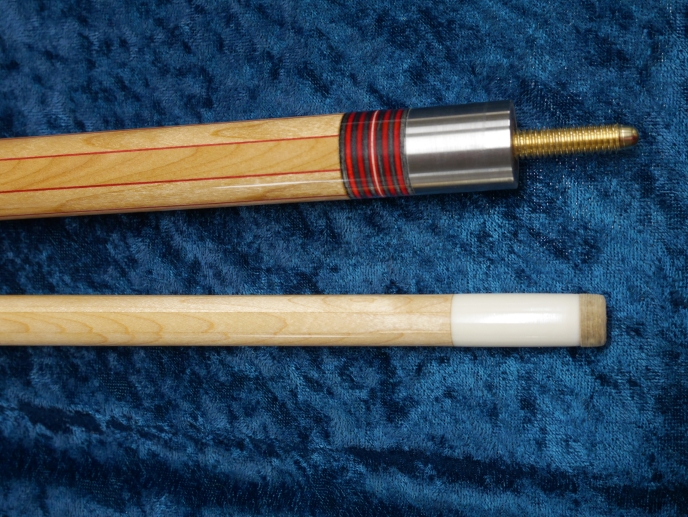
This is the third and last installment of my article on turning a custom pool cue on a wood lathe. For me the shaft was the hardest part because it’s a smaller diameter than the butt and is more prone to vibration when turning. Here the shaft has been turned and sanded to its final shape.
Turning the butt is basically the same process. It should be 1.25 inches in diameter at the end and .875 inches at the joint. That works out to .875 inches at the joint, .969 at the first quarter, 1.063 at the midpoint, 1.156 at three quarters and 1.25 at the butt end.
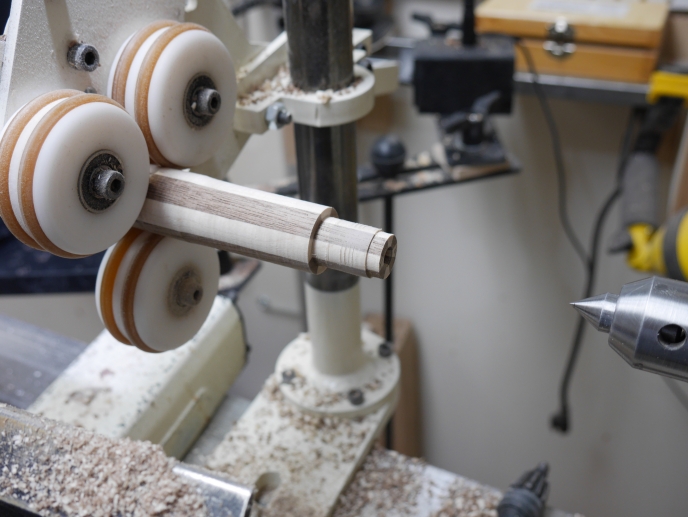
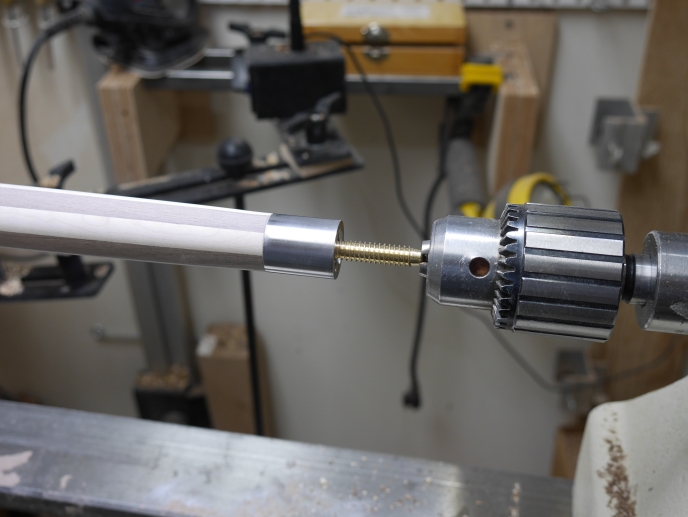
Next I drilled the front of the butt (dead center) for the joint pin. By drilling the hole first (before turning) and using a revolving center in the tailstock, you can keep the hole centered for the joint collar and pin.
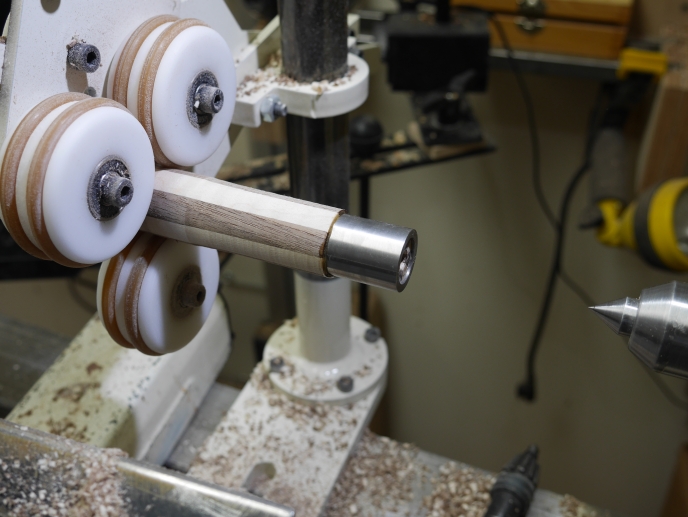
The joint collar and pin are glued in place. And the butt is turned and sanded. I also drilled and tapped the back end of the butt for up to a 5 inch 3/8 x 16 steel weight bolt. The hardest part here was finding a reasonably priced 6 or 7 inch long 3/8 x 16 tap with a small diameter shank and a supplier who would ship to Alaska.
The last thing I did was glue a tip on the end of the ferrule. I used a medium thick cyanoacrylate glue and let it cure for several hours (I left mine overnight.). The tip is then turned to the diameter and shape desired. Be sure to order a tip slightly larger than the diameter of the ferrule.
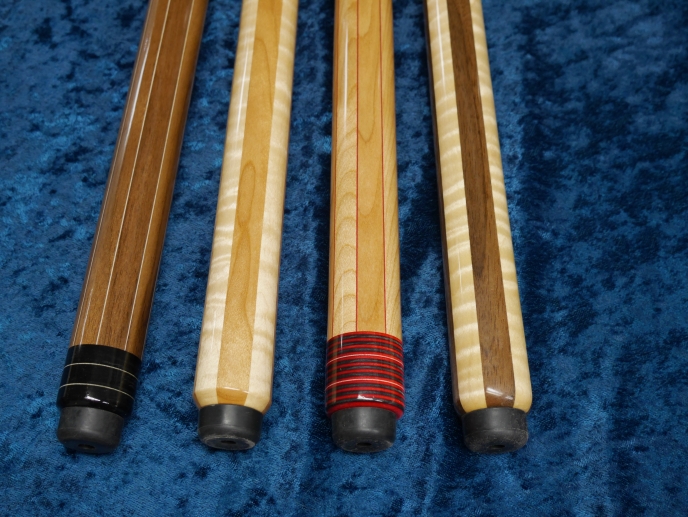
I put about 12 coats of Minwax gloss wipe-on polyurethane on the cues, wet sanding between coats. Then I used the Beall Wood Buff system with two buffing compounds and carnauba wax for the final finish.
I don’t know that I’ll make any more cues, but it was an interesting project and I learned a few things. I hope this helps someone else who would like to try making a cue.
